 Marpos Studio
Set up the image library
Choose where uploads go, give photos editable details, and verify a crop in the site’s image pipeline.
Choose where images belong
Studio uses public/ as its default media root. If the site already processes images from source, declare that location in the website-root .navigation.yml. Domus Picturae uses the following setting.
studio:
  mediaRoot: src/assets
In the gallery’s Photos collection, content/photos/.navigation.yml adds the media view and selects an upload directory relative to that root.
title: Photos
studio:
  view: media
  media:
    directory: library
    formats: [jpg, jpeg, png, webp, gif]
    maxBytes: 10485760
Together these settings put new images in src/assets/library/. The photo records stay in content/photos/. For a public-root site, a directory of images puts uploads in public/images/ and exposes them at /images/….
Give each photo an editable record
Add a photos collection alongside posts in the content configuration from the collections chapter. This example gives Studio fields for the title, image, alt text, categories, and credit.
const photos = defineCollection({
  loader: glob({ base: './content/photos', pattern: '*.json' }),
  schema: z.object({
    title: z.string().min(1),
    image: z.object({ src: z.string(), alt: z.string() }),
    categories: z.array(z.string()).default([]),
    credit: z.string().default(''),
  }),
});

export const collections = { posts, photos };
Replace the existing export const collections line with the combined export. Domus also defines optional thumbnails, ordering, and visibility. Explore the Domus photo configuration
Source-root references such as /src/assets/library/… identify project files. Resolve them through the site’s Astro image pipeline before rendering a public URL. Open a production build to check the result as well as the local preview.
Try an upload and crop
- In Photos, select Upload image and drop a file into the upload area.
- Give it a title and describe the photograph in the alternative-text field. Add the applicable category and credit.
- Open Adjust image, choose Square, and position the frame. Select Crop image, then Save changes.
- Find the saved photo in Photos. When handing the site over, also choose the photo in an entry that renders it and check the page preview.
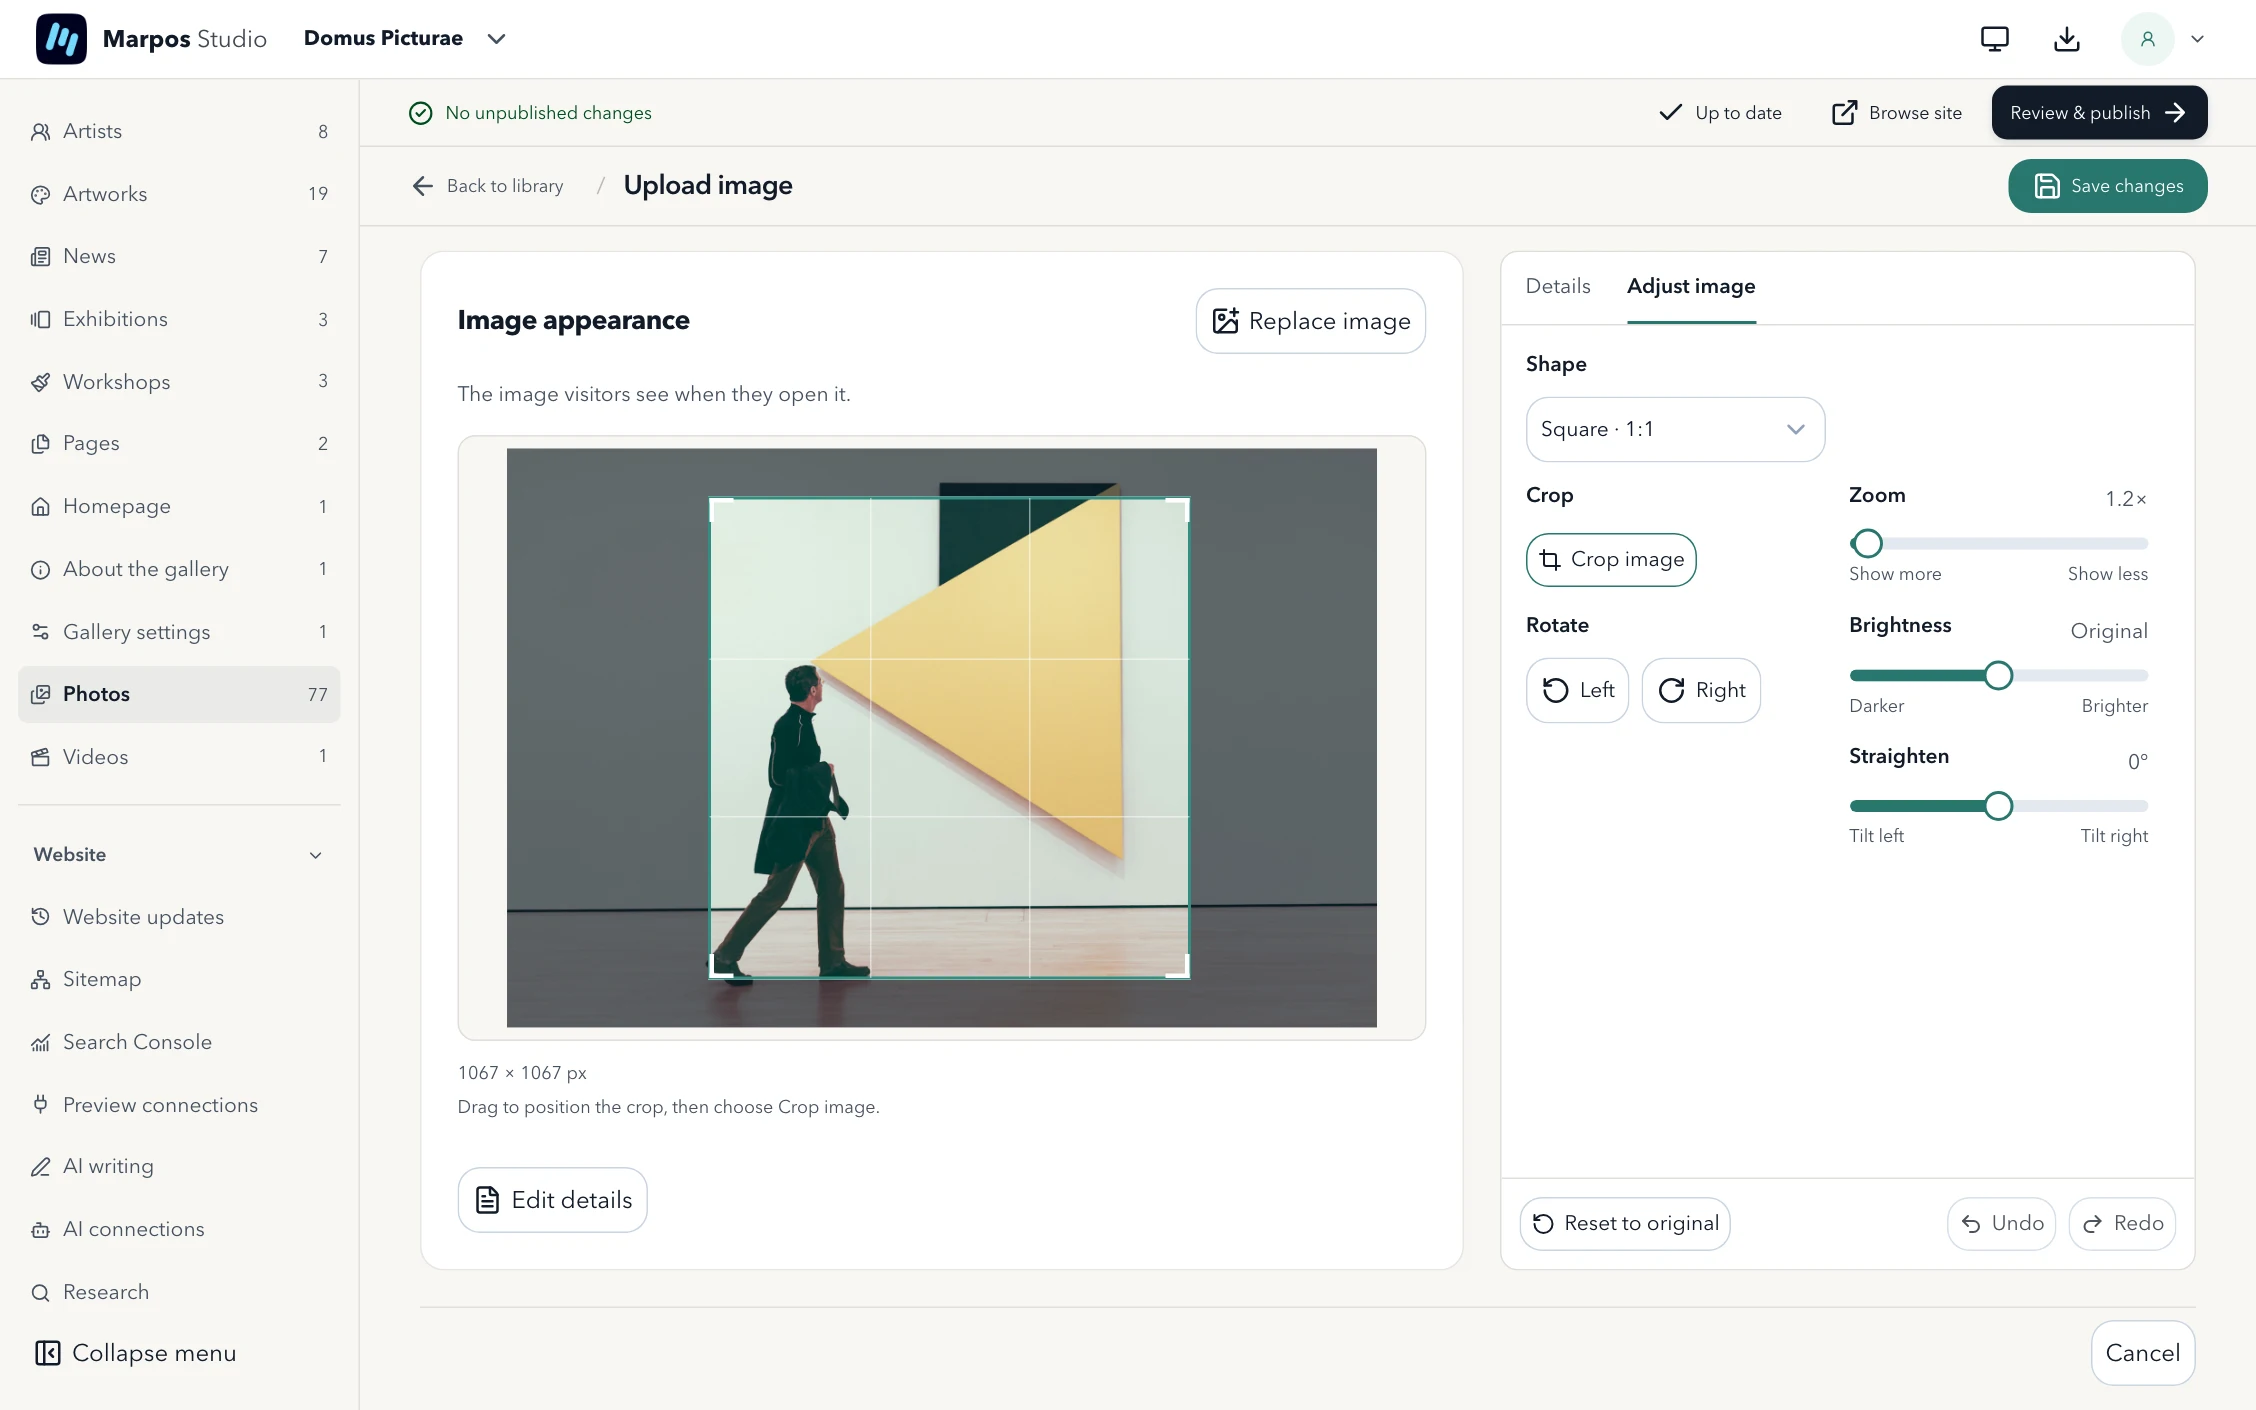
Studio keeps the original photo when you save a crop, so the editor can return to it for another framing.